Quiet Crow Bonsai
A Collection of Stellar Bonsai MusingsArticles
Small Club Shows
Small Club Shows such as the Silhouette, Spring, Folk Fair or other 4 to 8 table show has a small scale set up. Do not let small scale lull you into thinking it’s easy. At the first show in 2014 let’s look at some of the activities it took to pull it off.
Set-Up
Set-up is the biggest and most daunting of the activities. First step is to arrange half the tables so we can place the back drop then place the other tables opposite of the back drop. Then we skirt, lay top fabric and poof it’s done.
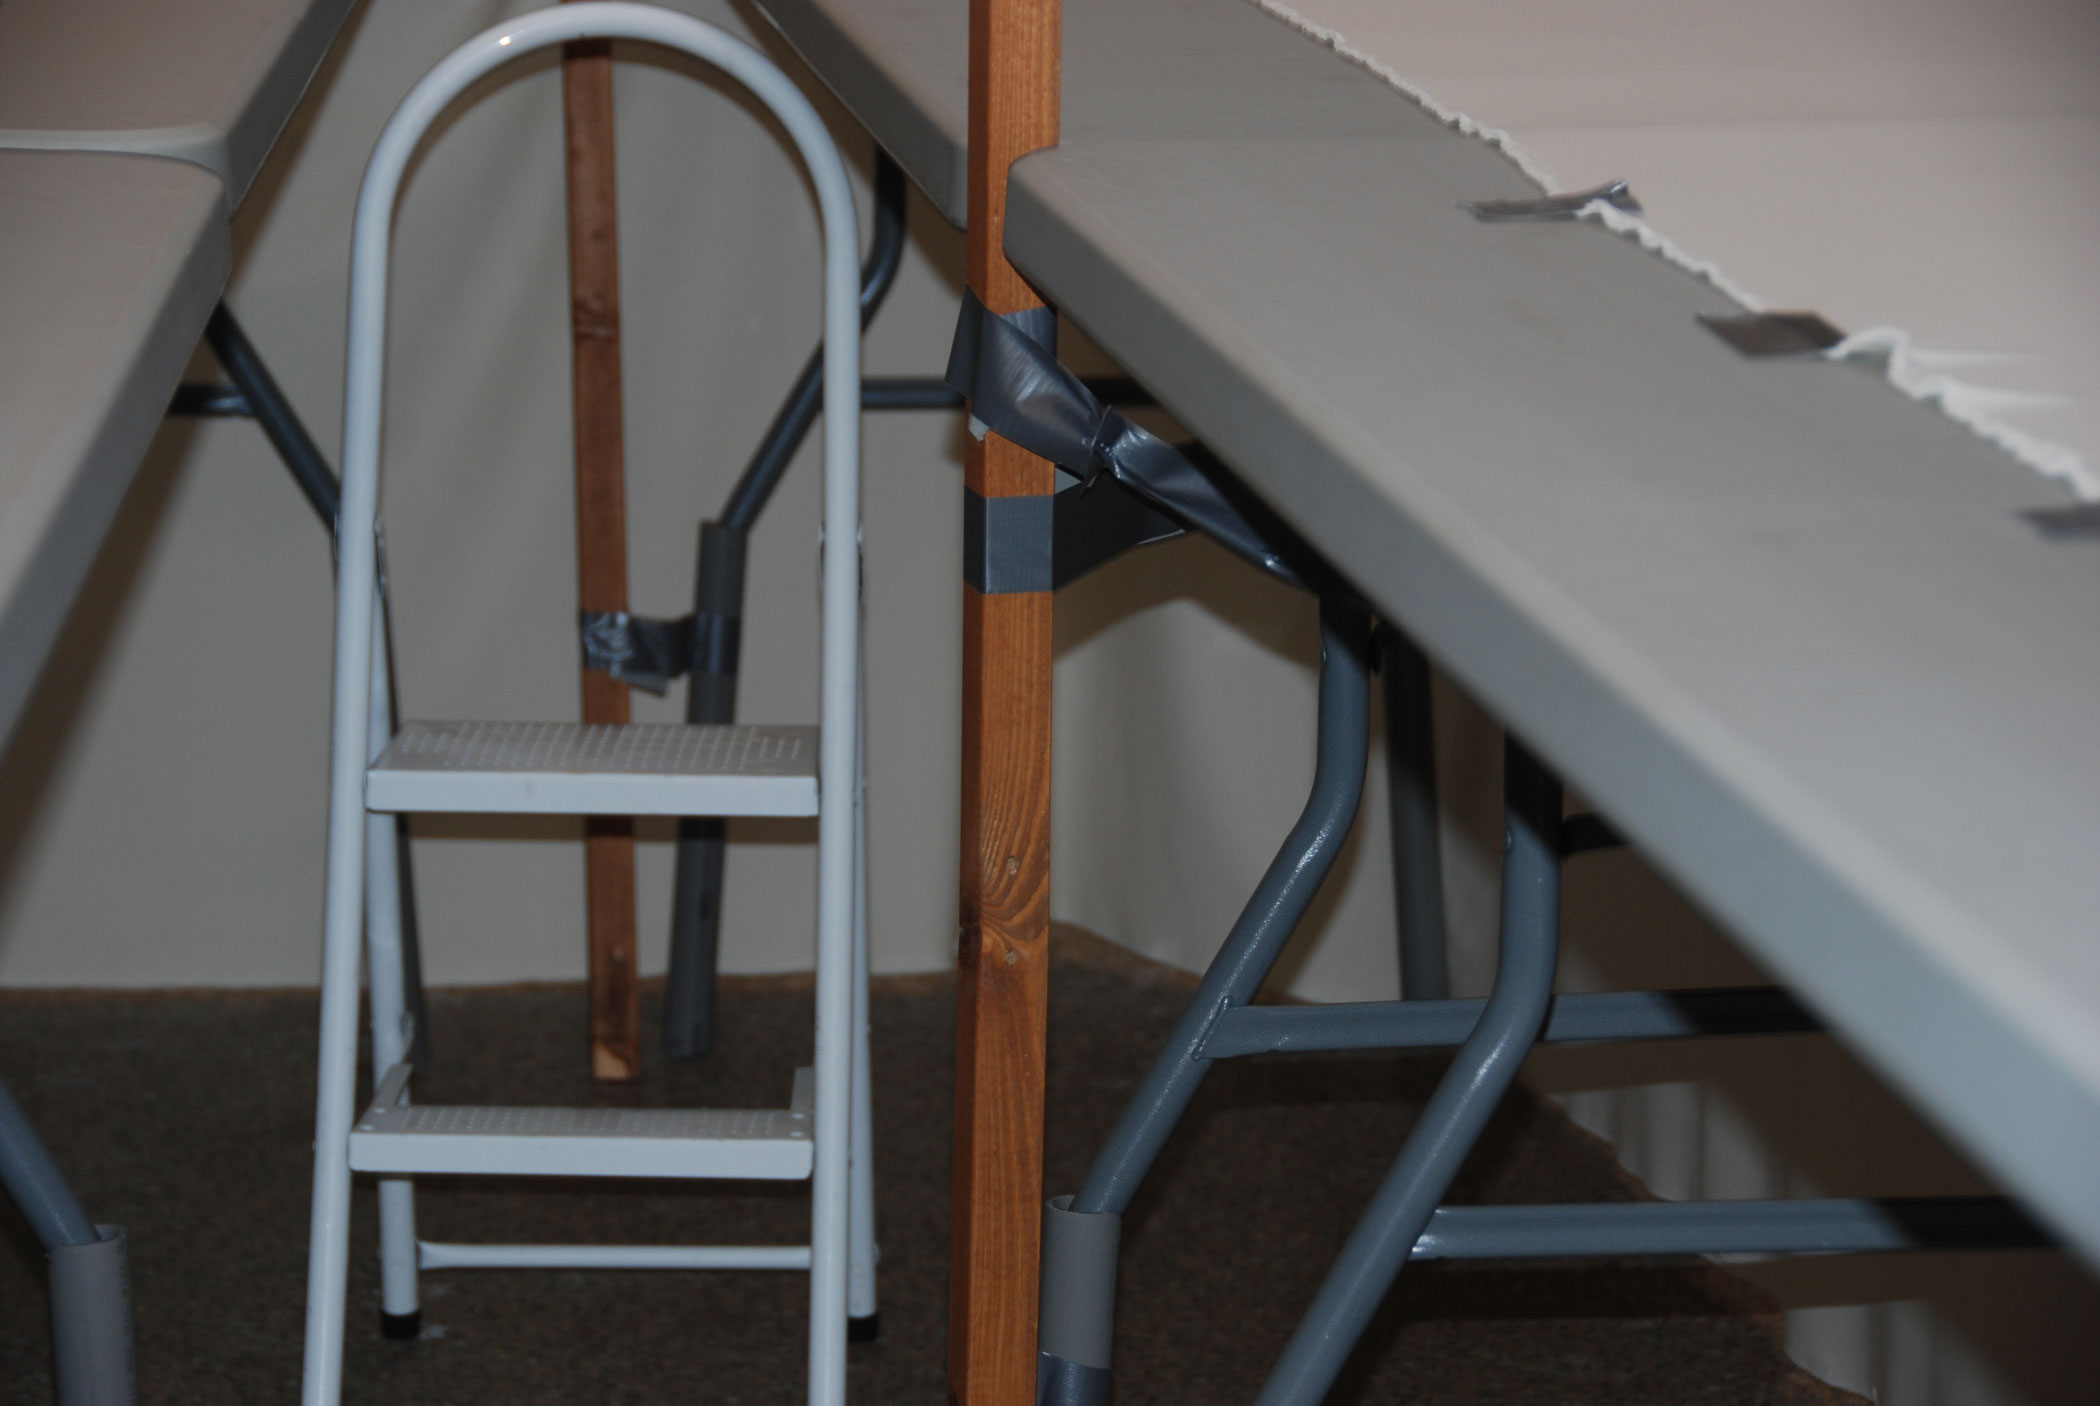
Duck tape to tables in a pinch
Wait before we set up the tables, we need to add risers to give them some height, and ensure they are level. We need to put the backdrop frames together, this activity means for each tall square pole you add legs to keep them steady. So you need to make sure you have all the parts, bolts, screw drivers, and step ladder. Woops no legs? Just duck tape the pole to the table. Don’t laugh it works just fine.
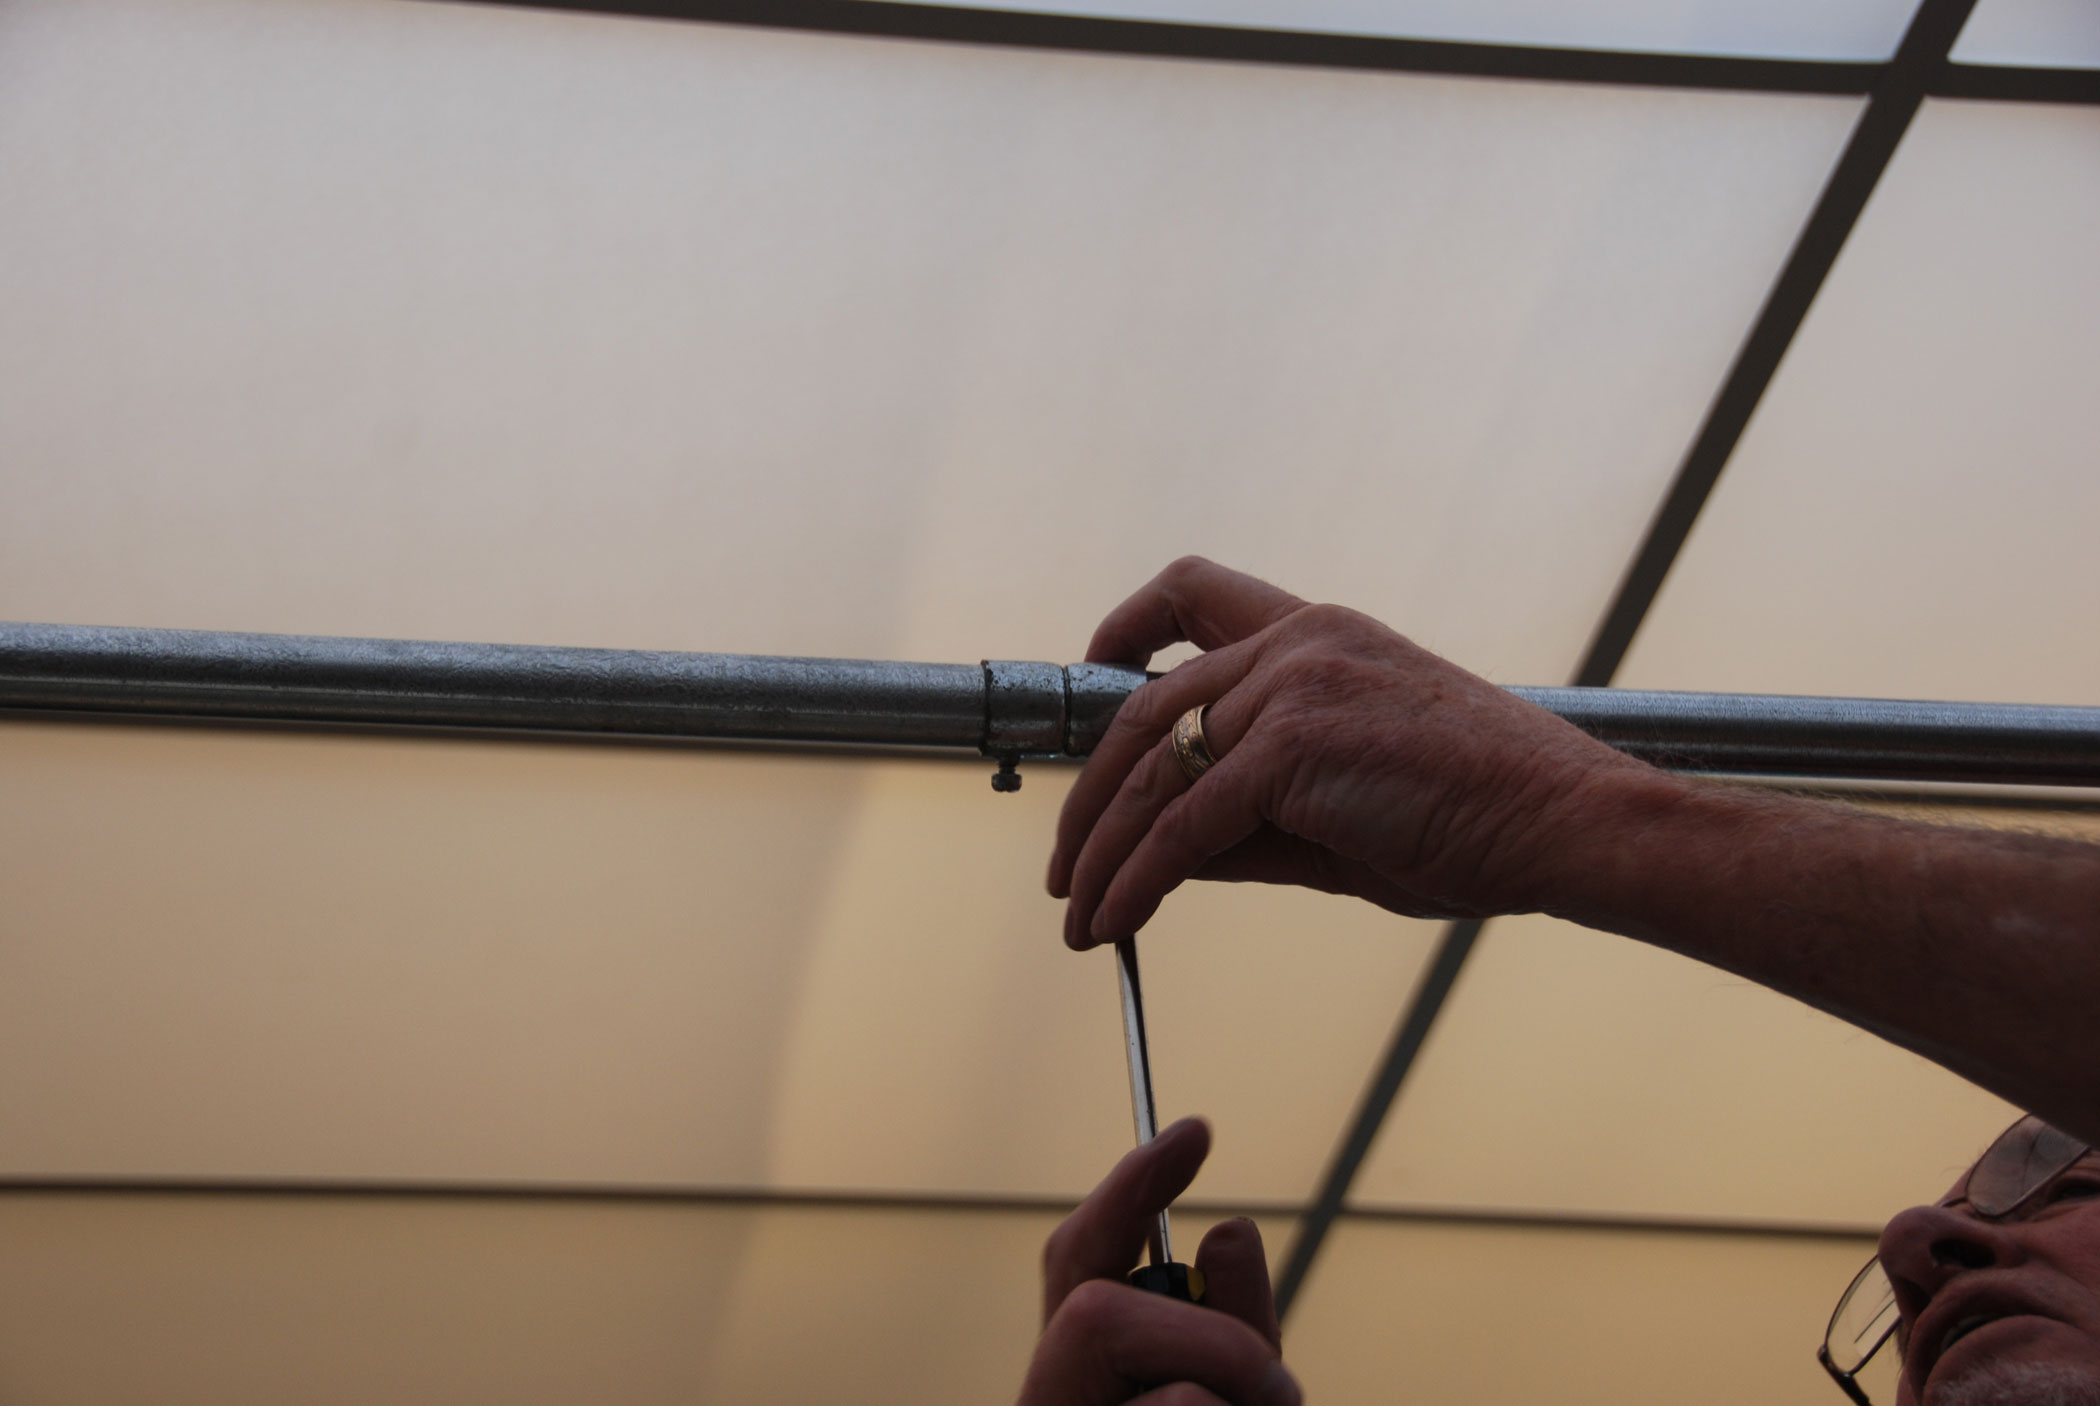
Connect the rods with
screws facing down
Now let’s add the top rods (yes like a shower curtain rod) across the wood poles and don’t forget to slip the fabric on the rods before connecting the rods. There is a trick to connecting the rods, make sure the screws are facing down so they do not catch the fabric and that the rods slip snuggly in before you tighten the screws. For a two table set up we used three wood poles, three metal rods and two fabric backdrops. You should check that you have the right male/female connections for rods. And you can easily add two more tables on the other side and with one backdrop set-up you have four tables. I doubt you could have a backdrop for just one table as the rods do not quite span the length of a table but I am sure we could arrange for that if needed.
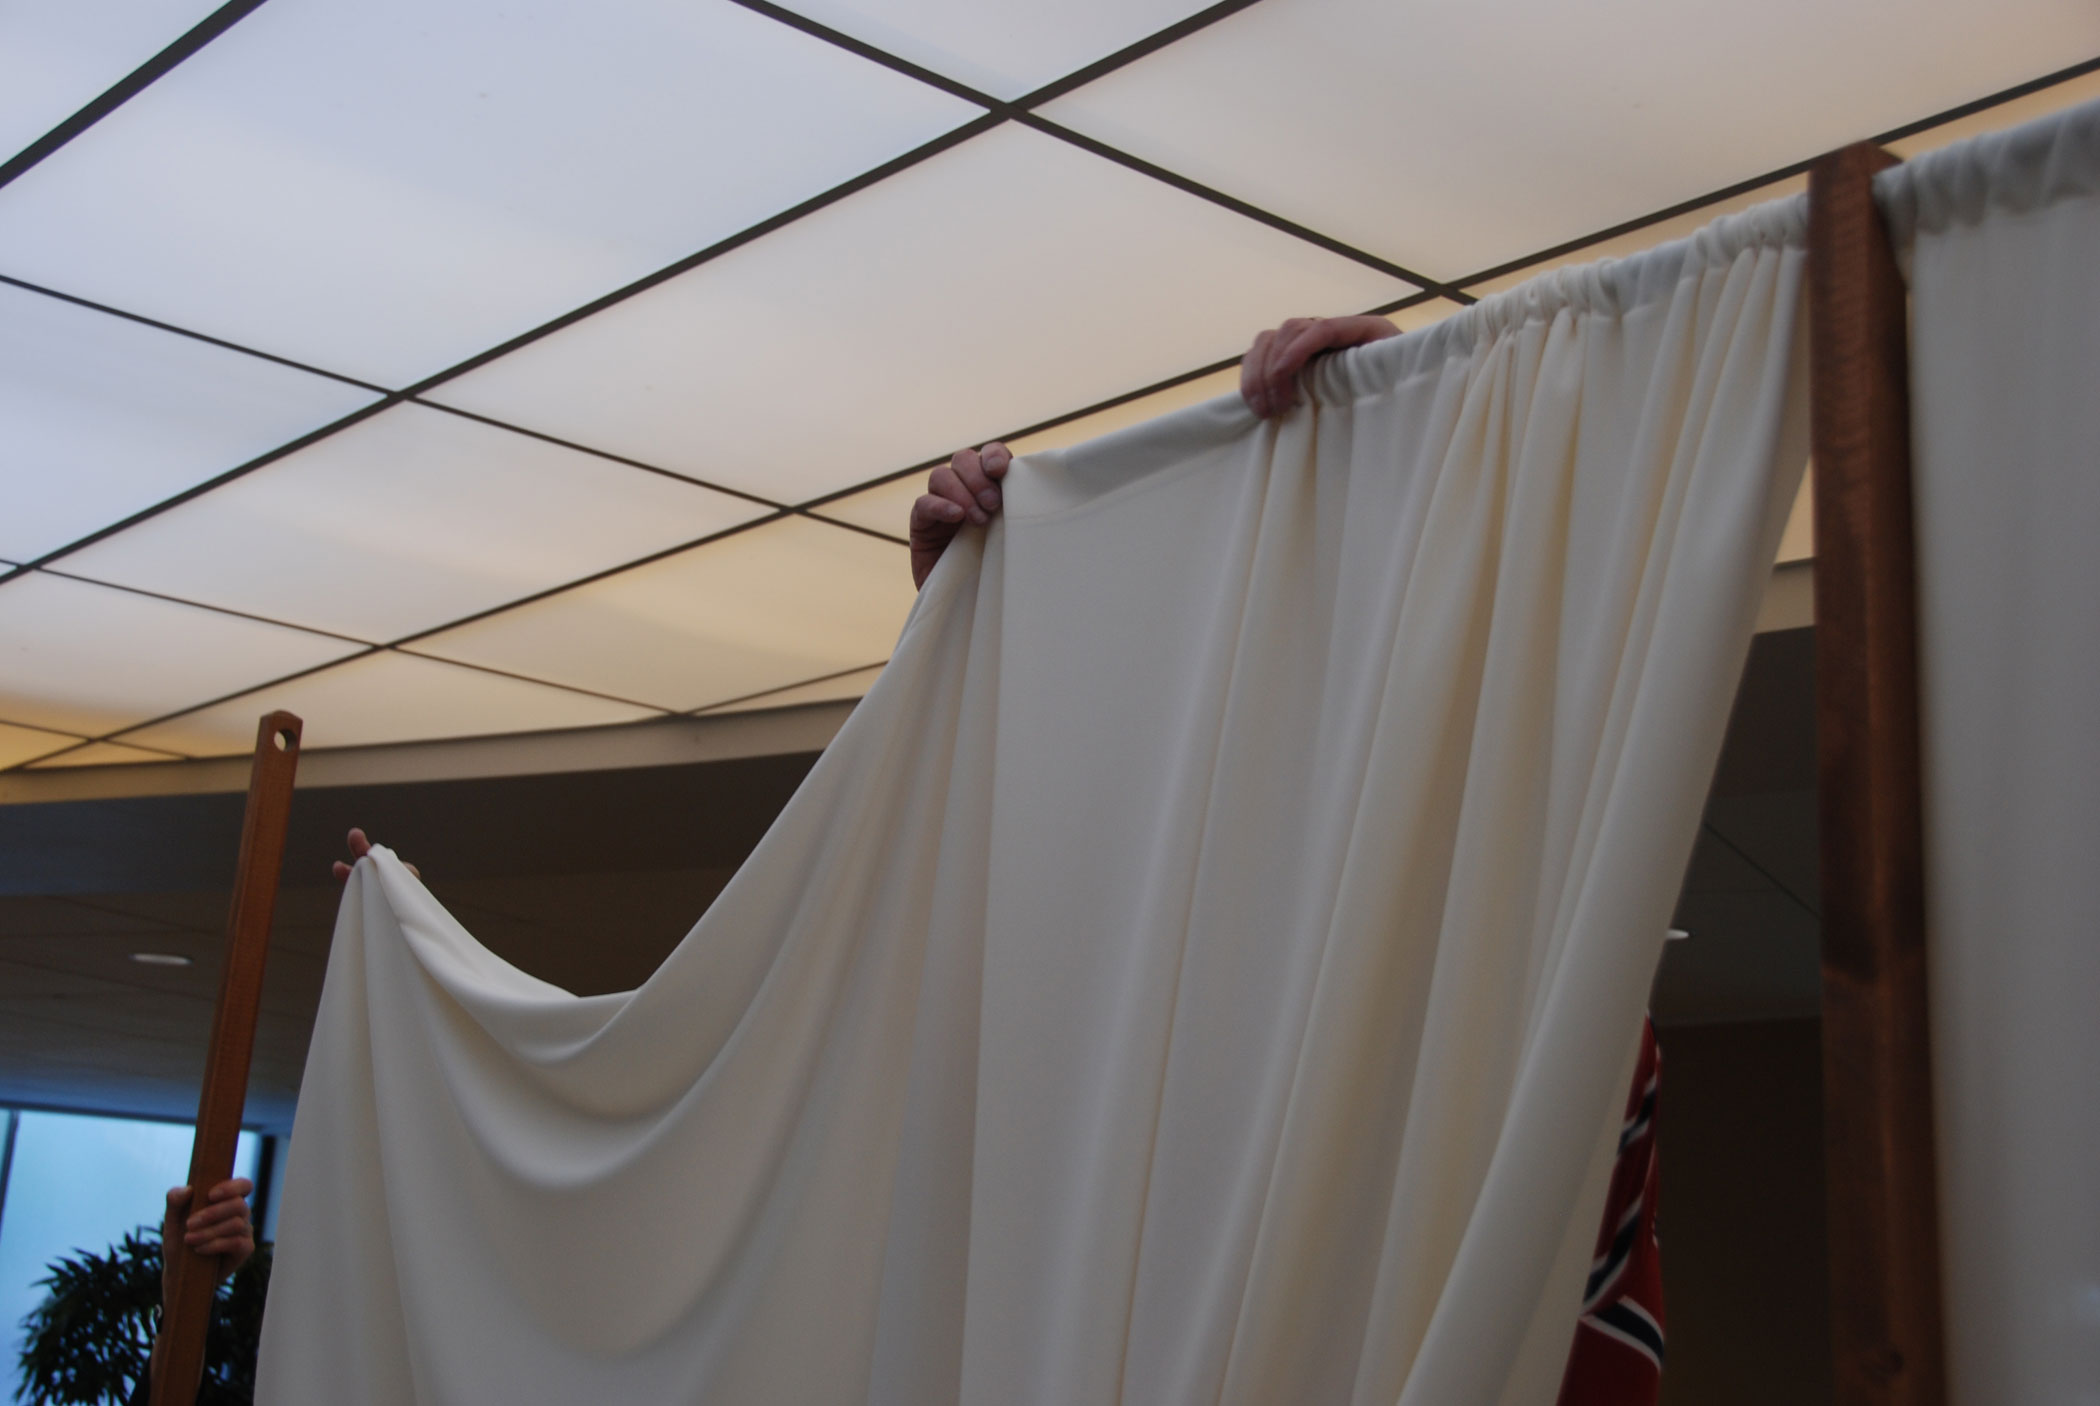
Backdrop added before
you connect the rods
Skirt
MBS has a lot of experience with skirting, we have tried renting, clipping, and a number of fabric type before we found an easy solution: wrinkle free fabric and duck tape. Starting at the middle of a short end, wrap the skirt around the corner and down the length.

Skirt the tables
Since the fabric stretches slightly you may leave a little extra space between the floor and the skirt. Use strips of duck tape to hold the fabric onto the table every foot or so. Overlap the end and keep wrapping around the corner being as neat as possible. For two table lengths you need two skirts as one does not go completely around, but for our four table set up three 16 foot skirts worked just fine.
Table Top
For an elegant setting, the same fabric used for the skirt works nicely to cover the table. For less formal and easier clean up we have been using felt. It hides imperfections, dresses the trees, does not show dirt and can be cleaned and reused.
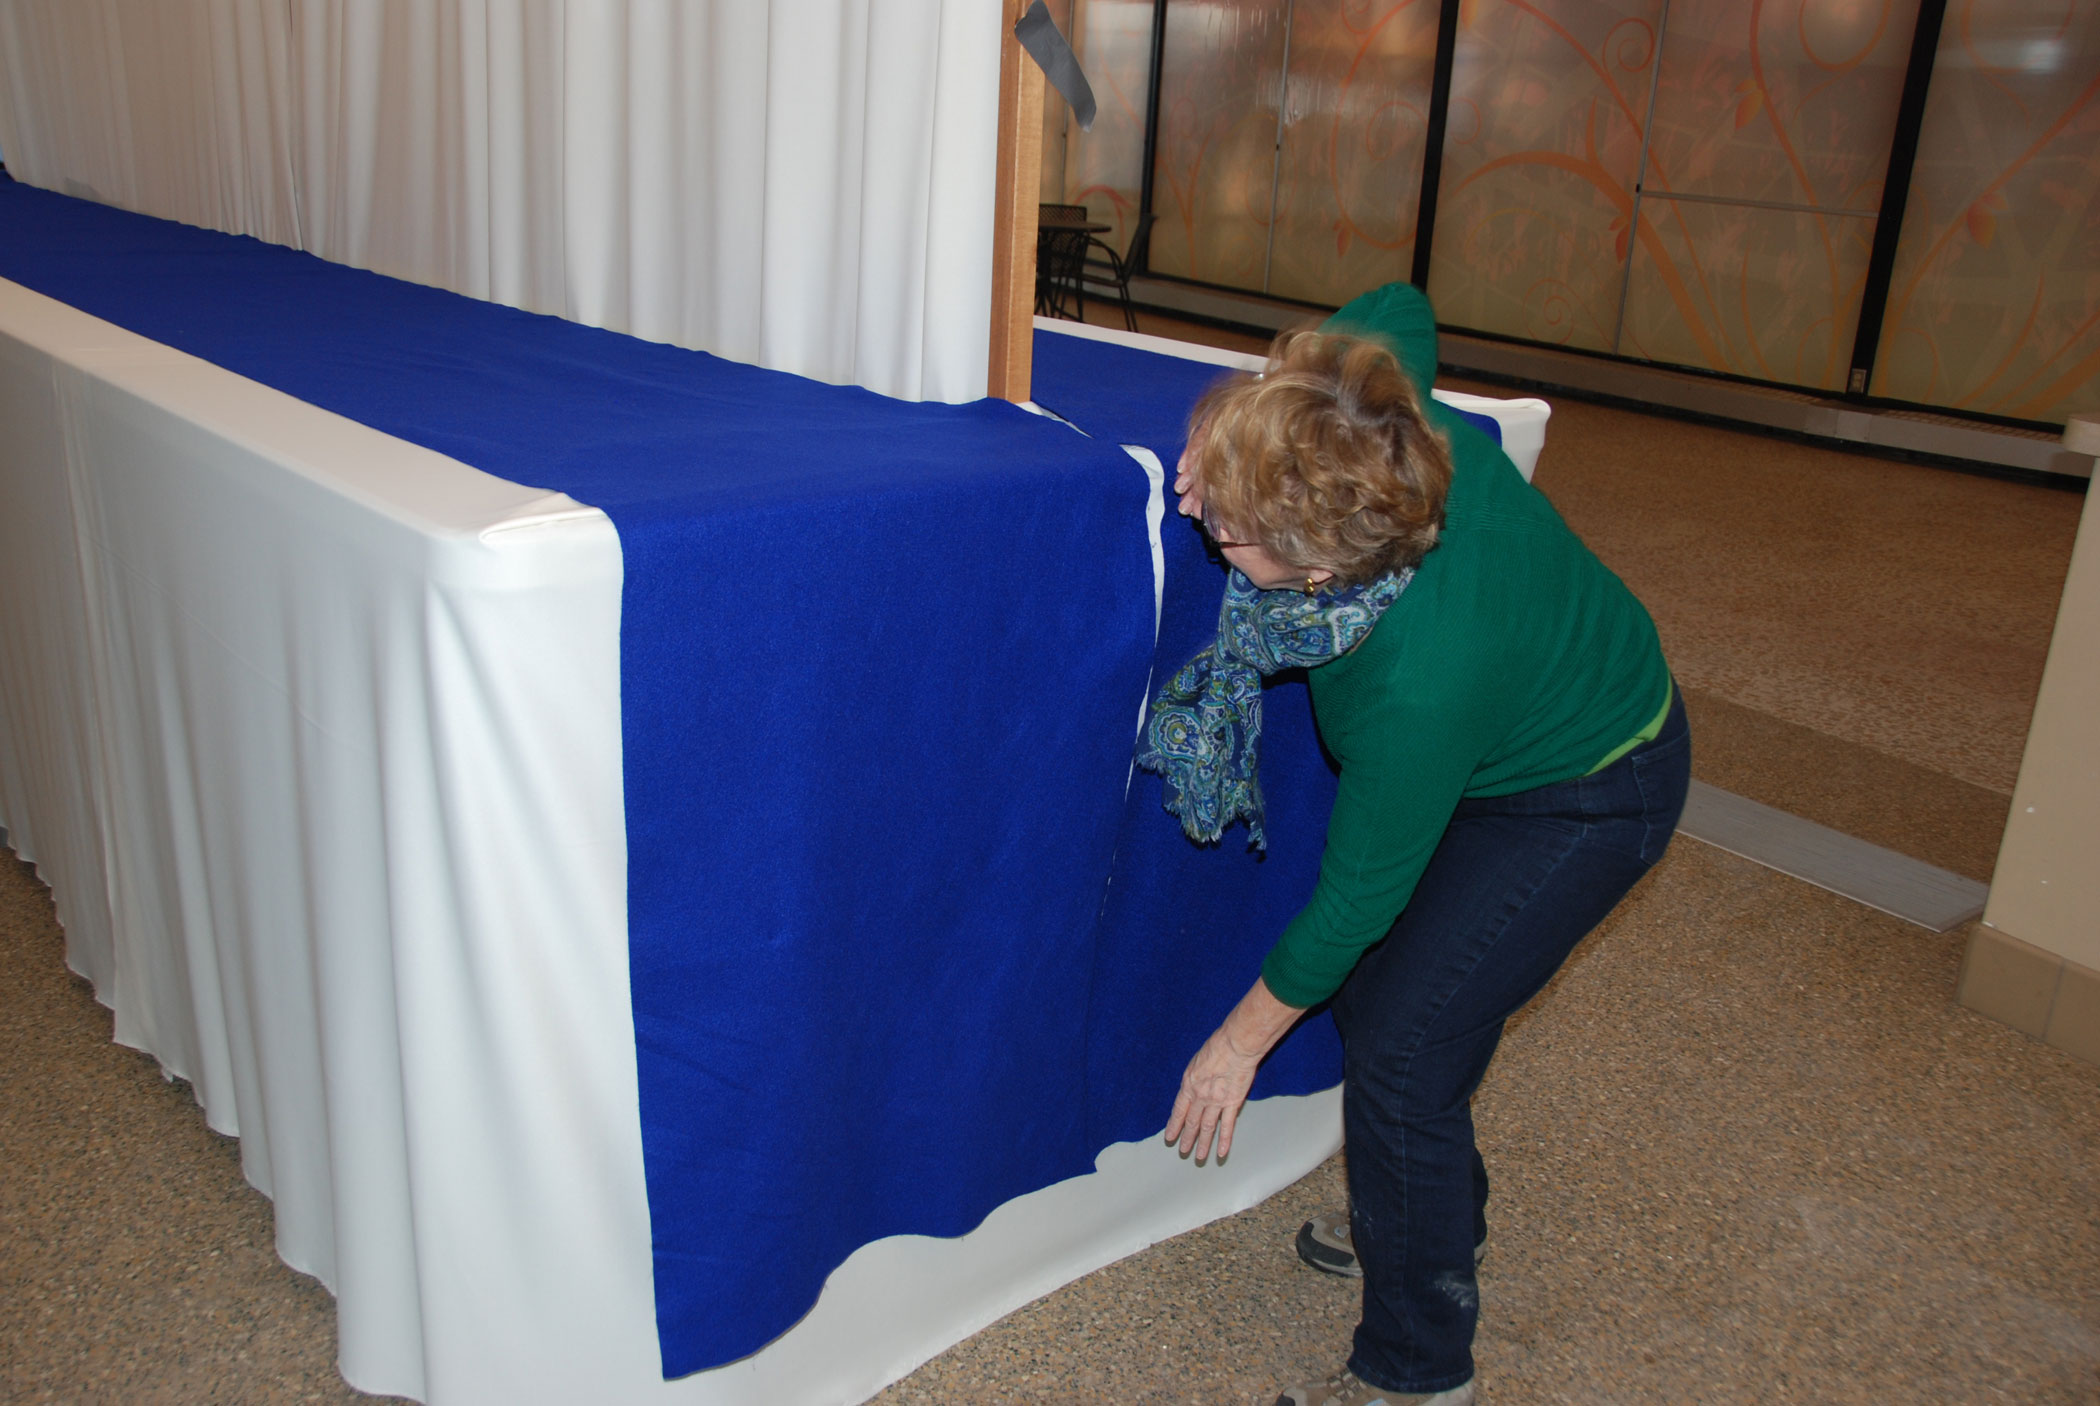
Detail of a corner
Just lay a bolt across the tabletop covering all duck tape. Hang the ends over the sides and overlap the top to fit the area you need. For each of our two table set-ups we used one bolt which contains 2 lengths of felt. For four tables that means 2 bolts.
Poof It's Done
Now the fun; lay out trees with their companion plants and stands if included. Trees should be displayed in a balanced, rhythmic manner. Movement of a tree should point toward the center of the table so the viewer is not left looking away from the collection. Leave enough space to show off each composition.
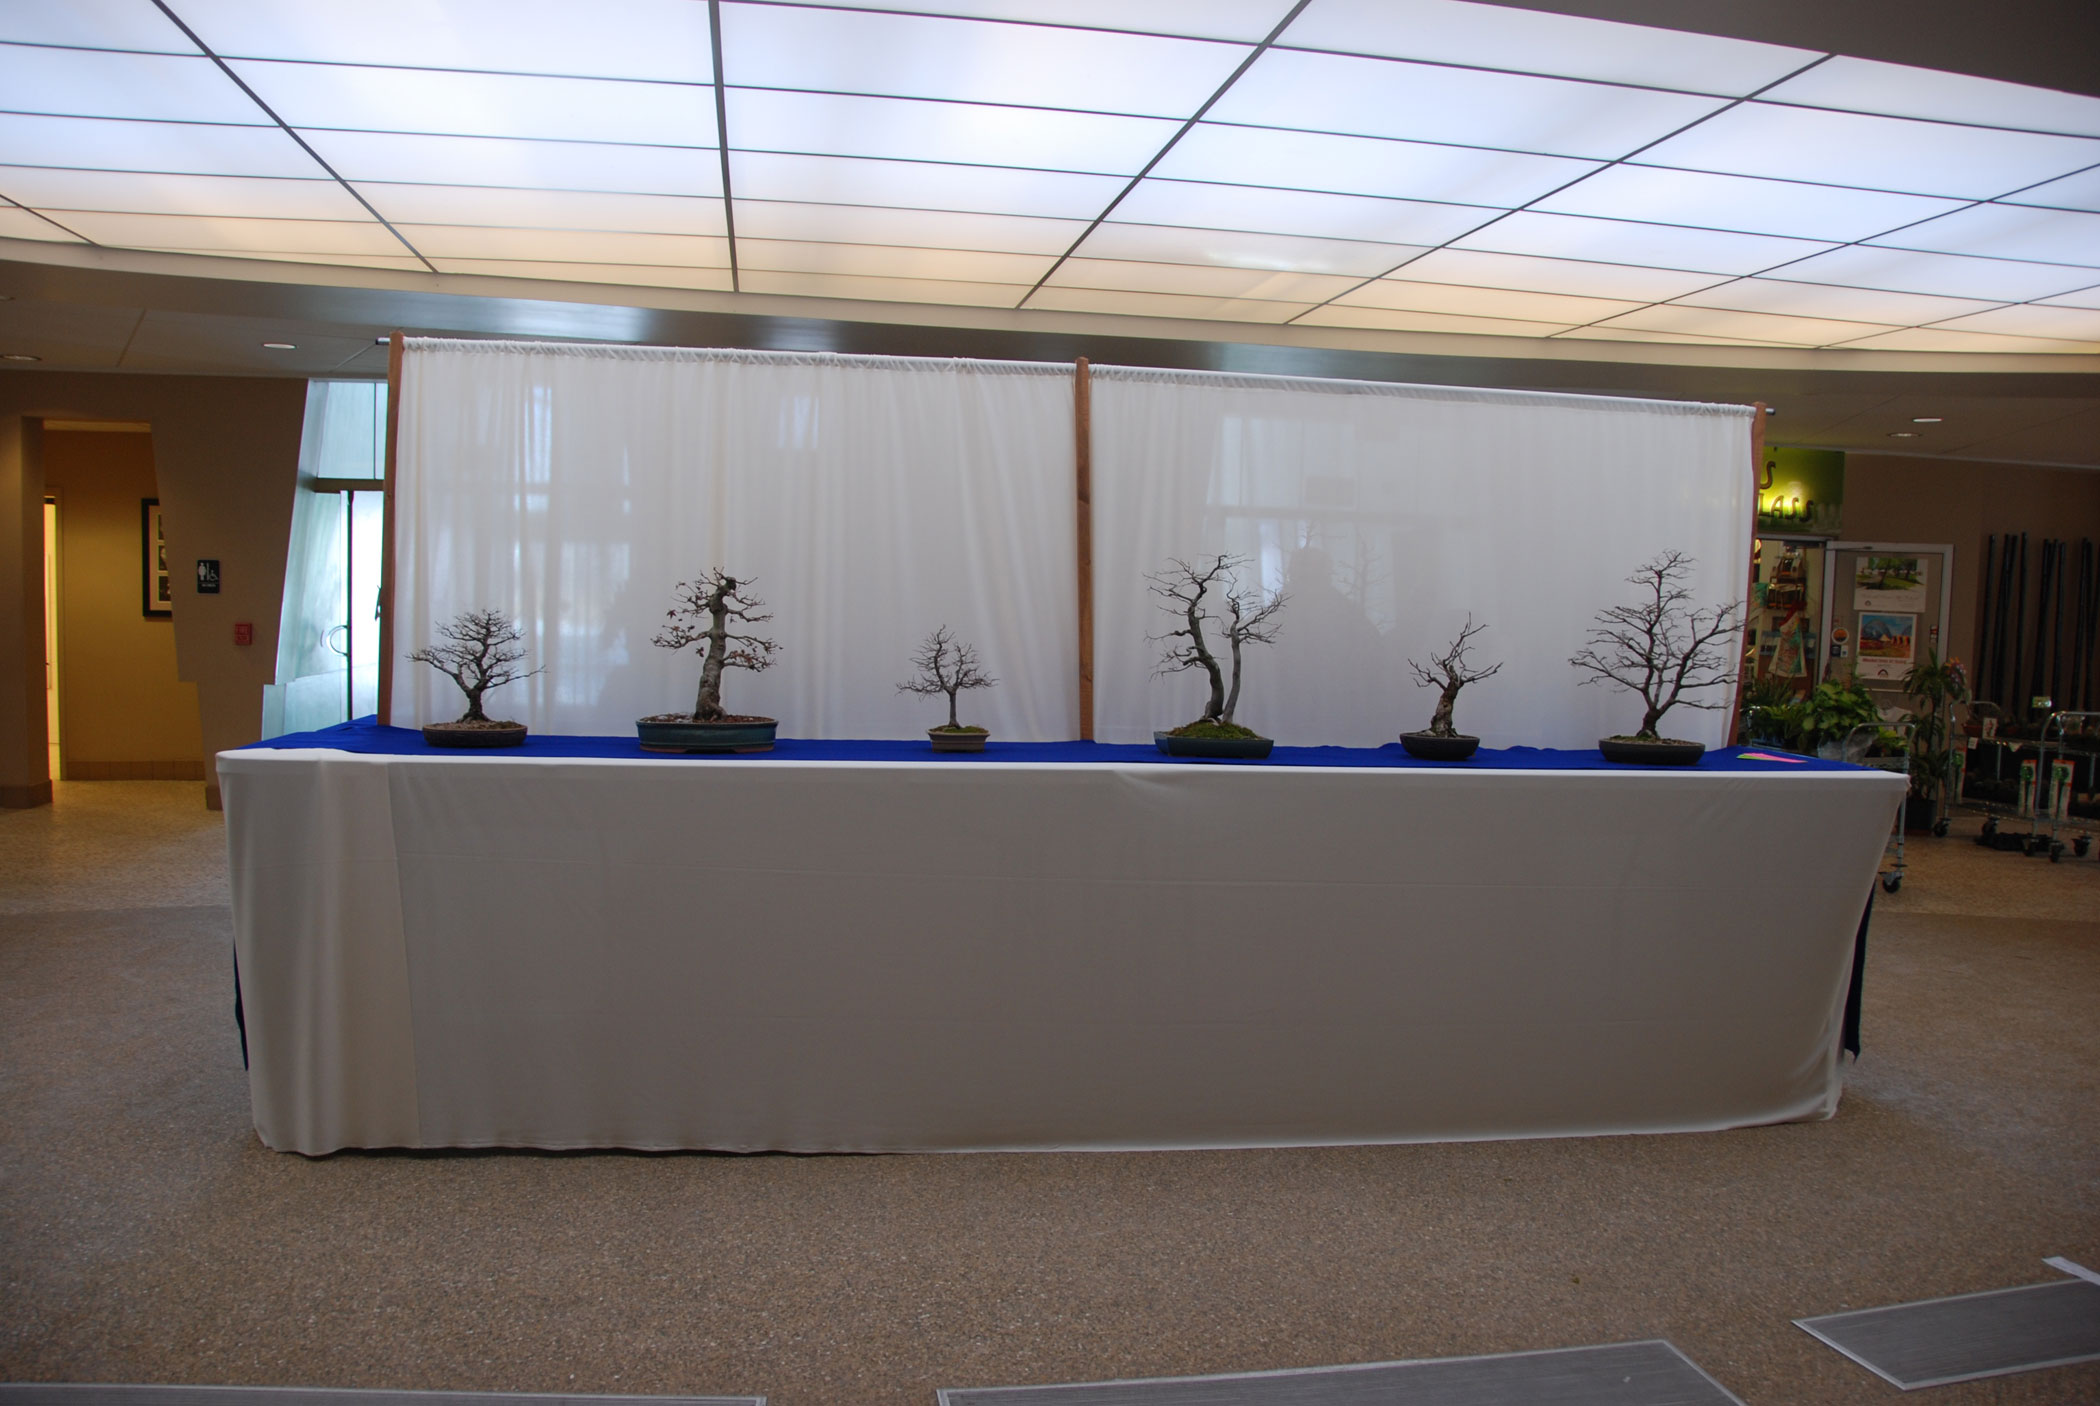
Plenty of space between trees
Add appropriate marketing material, signage, and publication. Let’s discuss these items. Marketing an upcoming workshop or memberships? Have brochures printed and available. Do the viewers know not to touch? Have a card the ask people to touch. Do viewers know what tree and general information of the tree they are viewing? Complete a display card and fold to display. Do visitors know the collection is hosted by Milwaukee Bonsai society? Bring a poster, easel and set it up in plain view. Poof it’s done.

Silouette 2014